How to Burn a DVD on Windows and Mac?

Learn how to burn a DVD effortlessly using DVDFab DVD Creator for both Windows and Mac, as well as with the built-in Windows DVD Maker.
Even in the digital age, DVDs remain valuable for physical transportation of data, in areas of unreliable internet, or to save device storage. This guide will instruct you on how to create a playable DVD on both Windows and Mac with the professional DVDFab DVD Creator. If and how to burn a DVD using the built-in tools of your Windows computer. This tutorial will make preserving your digital data an easy task.
How to Burn a Playable DVD on Windows/Mac – DVDFab DVD Creator
Introduce DVDFab DVD Creator
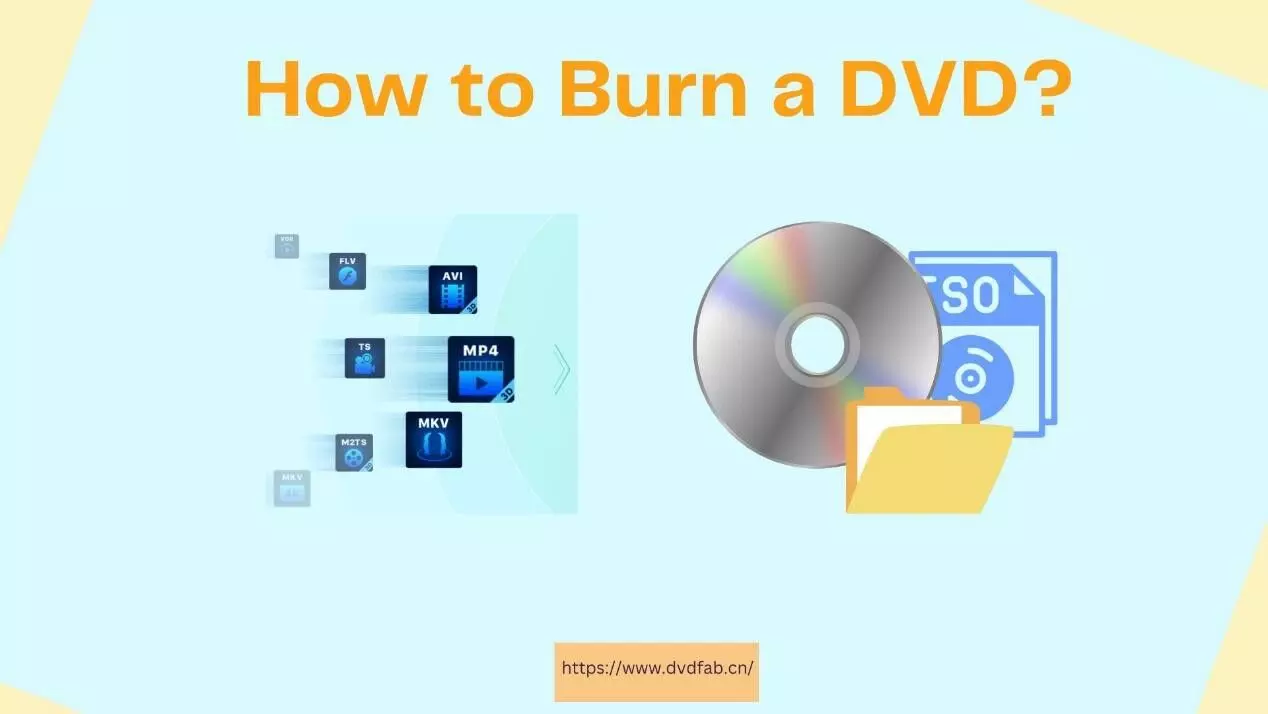
DVDFab DVD Creator is a remarkable tool on both Windows and Mac systems that allows you to burn all sorts of videos into DVD discs or to be standard DVD ISO files or folders. Diverse in format compatibility, the program supports nearly all types of video formats, making it easy to burn videos such as AVI, MKV, and MP4 to DVD.
With an intuitive and user-friendly interface, DVDFab DVD Creator also gives users the ability to customize their DVDs – users can personalize their DVD menus, add subtitles, select multiple audio tracks, and more. The software also boasts high-speed conversion and excellent output quality, ensuring that the end DVD video is professional and satisfactory.
How to Burn a DVD with Beautiful Menu with DVDFab
Now, let’s delve into the step-by-step instructions on how to use this DVD creator software.
Step 1: Free download and install DVDFab DVD Creator from its official site on your Windows or Mac system. Once installation is complete, launch the program.
Step 2: Click on the “Creator” module and load the source video(s) you wish to burn into a DVD. You can do this by clicking on the “+ Add” button or simply dragging the files into the program. Once your file(s) are uploaded, choose the DVD Creator mode from the Mode Switcher.
Step 3: Personalize your output DVD by modifying the menu, choosing the playback mode, output quality, and menu properties, and selecting subtitles or audio tracks. You can also add external subtitles if you want.
Step 4: After you are satisfied with your customized settings, select the output destination. This can be a DVD disc, ISO file, or a folder on your computer. Click on the “Start” button to begin the burning process. DVDFab DVD Creator software will notify you once the process is completed.
Follow these simple steps to produce a professional-looking DVD with DVDFab DVD Creator. Its simplicity, efficiency, and superior quality output make it the best choice for all your DVD burning needs.
How to Burn a DVD Using Windows DVD Maker?
Windows DVD Maker is a built-in application that allows you to create DVDs from your videos and images. It is very user-friendly and allows you to add various effects and transitions, customize the DVD menu and also add a soundtrack if you like.
This program is designed to work with Windows Vista and Windows 7. If you’re using a later version of Windows, like Windows 10, you may need to download a third-party DVD burner like DVDFab DVD Creator since Windows DVD Maker is no longer included.
Here’s a step by step guide to burn a DVD using Windows DVD Maker:
Step 1: Locate Windows DVD Maker on your computer. You can usually find this by clicking on the “Start” button, then “All Programs”, and then scrolling down until you find “Windows DVD Maker”.
Step 2: Open the Windows DVD Maker application. Click on “Choose Photos and Videos” button on the application, then click “Add items” to add the video files or photos you want to burn to your DVD. You can add multiple items.
Step 3: Once you’ve added all the items, click the “Next” button.
Step 4: A new interface will appear where you can choose a DVD menu style. There are various styles to choose from and you can also use the ‘Customize menu’ option to add a personal touch to your DVD.
Step 5: After you’ve chosen and customized your DVD’s menu, click on the “Burn” button at the lower right corner.
Step 6: Wait for the DVD to finish burning. The length of time this will take will depend on the amount of data being burned to the DVD.
Note: Always double check if you’ve selected the right files before you start burning to avoid any data loss.
Conclusion
In conclusion, it’s clear that DVDs still hold significant importance for transporting and accessing data in various situations. Through utilization of the DVDFab DVD Creator software or built-in tools in Windows, anyone can store their precious digital data securely onto a playable DVD. It’s a skill that is still relevant even as we advance in the digital age. The process described above ensures an easy, smooth, and reliable way of going about it.

