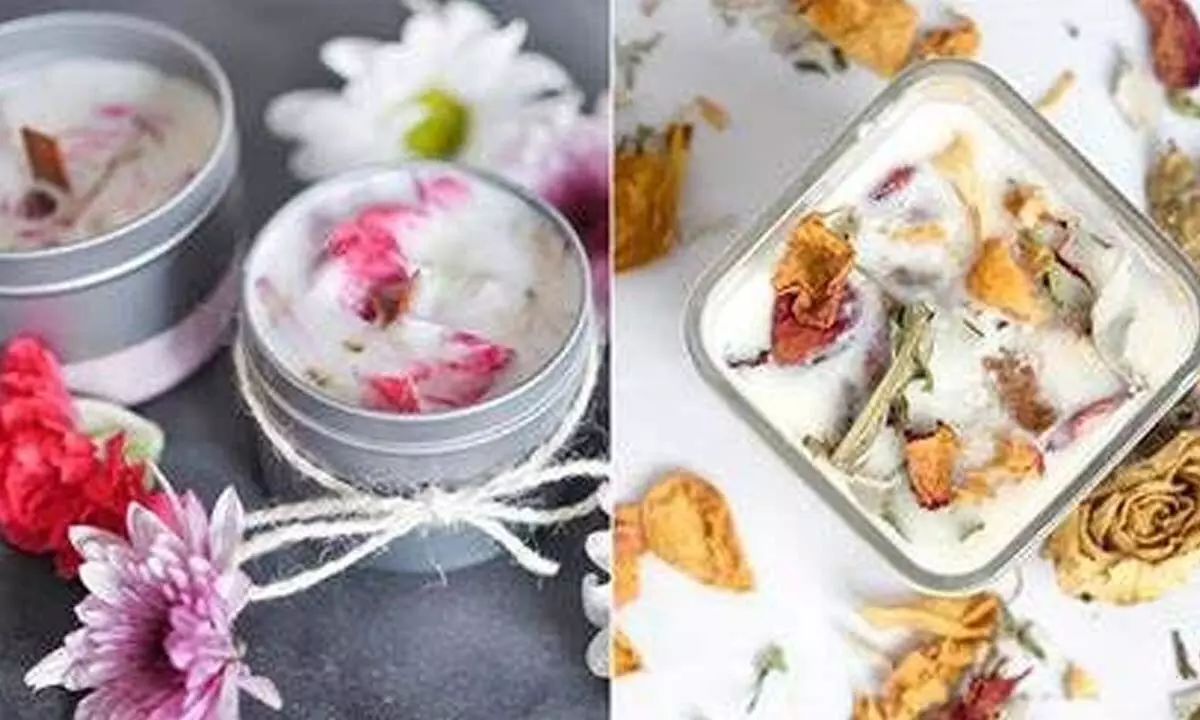
Feeling Crafty: Learn how to make Dried Flower Candles

Feeling Crafty: Learn how to make Dried Flower Candles
- Dried decorative candles can be decorative in more than one way
- Dried flower candles can be easily made using the simple ingredients
- You can add the name of the recipient or birthday greeting to these candles
Dried home-made candles are unique way to surprise your loved ones. These candles can be decorative in more than one way and in the case of a home-made dried flower candle you special someone might enjoy an aromatic as well as long lasting gift.
Making candles is not the first thing that comes to people mind as a gift idea, as many find it difficult to do and by the many options available to buy in shops as well as online. However, making your own DIY flower candles is much simpler than many people think and a very sweet touch to your gift giving. it is comparatively cheap to do with only a few simple ingredients that can be easily be locally brought.
You would be requiring all these things
-Wax- It is better to use soy wax but aby organic wax would do
-Cotton Candle Wick -Measured to fit your container, having extra length for the candle setting
-Dried flower-Either brought or you can dry your own
-Glass Jar or Container-You must also try using the old ceremic tea cups for a unique edge
-A Pencil – We would use this to help the wick set
-A wooden skewer
-optional: essential oil
First step: Melt the Wax
For this first step, you must melt the wax, you can either do this with a jug or bowl in a saucepan of shallow water or with or just in the saucepan itself. It is better to melt the wax slowly with a quite low heat in order to ensure that it cools quickly so as not to damage the dried petals with the heat of the liquid.
Add dried flowers to the glass container
If you are using a transparent container, it would be good idea to clean the container before you begin adding the flowers and wax and so no smudges or marks are left when the wax cools inside it. You can also stick few petals to the side of the glass, if you wish more of flowers to be on display. When you are just about ready to add the wax, add few of the flowers you wish to seal inside. Do not worry about their distribution of the flowers at this point as more can be added gradually with the wax.
Pour the wax in the container
Now you must turn off the stove and take the liquid melted wax over to the container and begin to pour inside. Sprinkle in a few more flowers as you go and use the wooden skewer to ensure that they sink properly in the wax itself.
Add the wick and oils
You should already have your wick set to be placed in the candle. If you wish to add in the oils do so after the wax has cooled for few minutes in order to ensure that the heat does not make the oils smoke. If you are adding strong scents such as eucalyptus only place a couple of drops in the mixture but for more subtle fragrance more is better After giving the mixture a light stir you can then drop in the wick. Make sure to keep it centred so the candle will burn evenly.
Wrap the wick In place
Once the wick is centred and fully measured down to the bottom of the container, use a pencil across the top of the lid opening. You can then wrap the excess wick around the pencil to keep it from sinking into the still liquid wax.
Let the wax cool
Now that everything is set in place, you need to find a cool dry place for the wax to solidify. This can take about 24 hours to completely settle do not rush the process or the flowers or could get knocked out of place.
Once the candles are fully set, you can add then add any additional decorations. Perhaps, you may add a label with the name of the recipient or a birthday greeting if it is for birthday party. Whatever, might be the celebration, your home-made floral candle must be able to impress your loved ones with its light, scent and craftmanship.


