How to make a plant herbarium

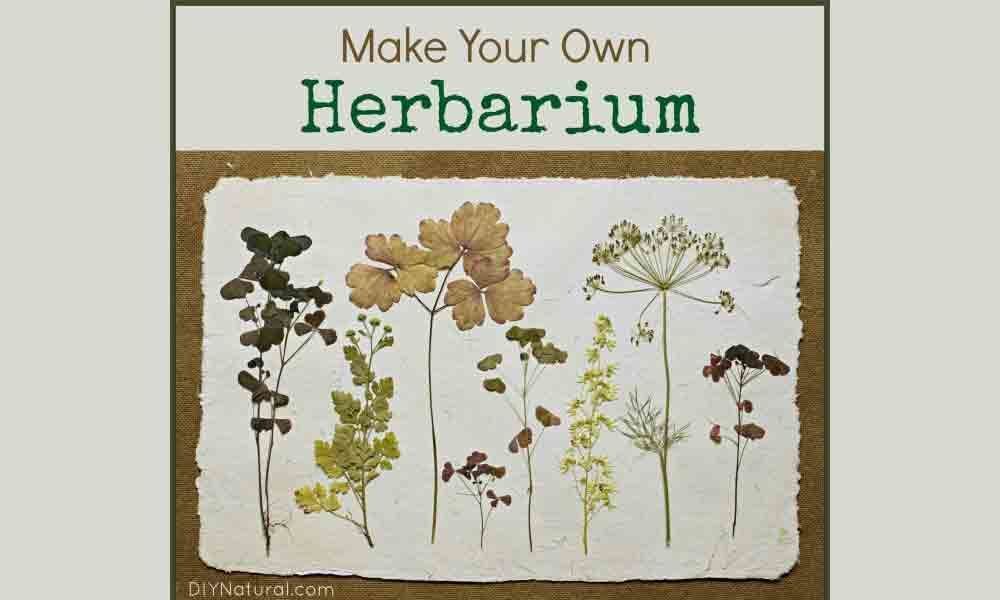
An herbarium is a collection of dried and pressed plants. For hundreds of years scientists and plant lovers have preserved dried plants for study in herbariums. The great taxonomist Carolus Linnaeus had 14,000 specimens in his herbarium!
Plant presses work best for drying and pressing flowers and plants, but they can also be effectively pressed between newspaper and books.
Herbariums can contain entire plants (including roots), seeds, leaves, or flowers. Try to gather specimens from a variety of places: your backyard or garden, a field, a river or lake shore, a beach, a swamp, or a forest.
Use a tree, weed, or flower guide to identify your specimens. You may want to write out a label with the specimen's common and scientific names, as well as the date and the location where you found it. Press your specimens as soon after collecting as possible. They should take about 1-3 weeks to dry out completely. Attach the pressed specimens to heavy paper or cardstock. Thin strips of masking tape or plastic tape work well for whole plant specimens and glue works well for attaching seeds. Be sure to include a label for each specimen.
Here are more detailed directions for pressing and mounting plant specimens: Lay your specimen out so it looks attractive and the main features of the plant can be seen clearly. For large specimens, you may have to bend the stems in a sharp zigzag pattern so they will fit on the page. You can also cut the plant in half and show the top half and bottom half side by side.
It is a good idea to show both sides of the leaves, since the top and bottom often look very different. You can also leave space to glue a small envelope to hold seeds and other small parts. There are several methods you can use to mount your specimens, but one of the most common is called the glass-plate method. Traditionally botanists used glass plates for this, but you can use an aluminum cookie sheet. Dilute some white glue (like Elmer's) with water and spread it in a thin layer over the cookie sheet. (For delicate specimens, use thinner glue than for thick, woody stems.) Carefully set your specimen on the sheet so all parts touch the glue. If you need to, blot the plant on newspaper before placing it on the plant mounting page. Gently press on the specimen with a paper towel to fix it to the page and blot up any excess glue. Then cover each page with wax paper and stack them with cardboard in between. Put a weight on top of the stack and let the glue dry overnight. When it's dry, carefully slide each page into a plastic page protector.


